The beds have been built and ready for a while now.
The weather in Maine has decided not to cooperate! (Not really a surprise there, to be honest.)
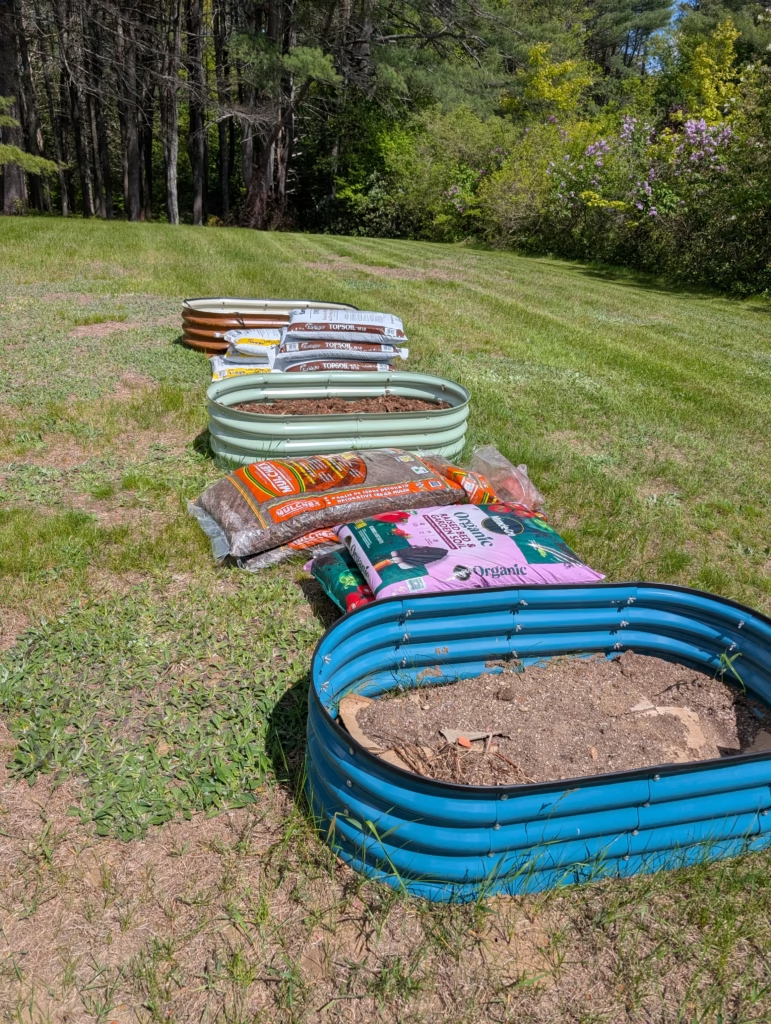
We got our dirt yesterday! I’m excited to finally get the beds filled and get the garden started! I tried a garden probably 10 years ago, but I’m actually taking it seriously this time around.
I did a lot of research on how I wanted to layer the beds. I’m sure I could have filled them to the brim with Raised Bed Garden Soil. But let’s be real, that would get expensive QUICK.
In this economy, I’m doing my best to do things a bit cheaper where I can. It’s not exactly cutting corners—I’d consider it to be using resources wisely.
Early in the spring, I cleared a bunch of the dead leftovers from the garden out front of our front steps. It REALLY needed it and it felt good knowing the lilies would grow back in a clear spot!
I had already built my garden beds and had them sitting and waiting where I wanted them to be. So I took the cuttings and placed them at the bottom of the beds. We also had a rose bush that was so overgrown it was stuck in the siding of the house and it hadn’t flowered in the 2 years we’ve been here. So I got clippers and went to work!
Even with leather palmed gloves, the roses took their revenge.
The thorns on those suckers HURT! But I still won in the end. I used these clippings to fill the bottom of the garden beds along with the lily clippings.
This seems kinda random, but I read to add cardboard! (Plain with no printing on it.) And that it would work like a weed cloth, and will eventually break down into organic matter.
We try our best to recycle what we can, so we always have a ton of cardboard. This was a perfect way to get rid of some in an eco-friendly way! And I’m not a huge fan of weed barrier cloth—I find it only ever works OKAY (and it’s expensive).
We have a planter incorporated into our front steps that had a shrub in it for who knows how long. I was determined to rid the front steps of said shrub. I knew in time it would grow too large and the roots might crack the concrete. (The stairs are fairly old.) I fought with the damn shrub on and off for weeks, slowly getting its roots loosened from the concrete. I got her out in the rain and threw her down in triumph! I’m sorry little shrub. You were cute, but not where you were planted.
Since I wanted to add something floral and pretty, my husband took me out on Mother’s Day to get some plants! I took out quite a bit of the existing dirt and placed it in my raised beds. I figured it would be covered with new soil anyway, so I made space in the planter and repurposed the old stuff. Win-win, am I right? Anyway, I’m getting off topic.
We went to Aubuchon Hardware this weekend to get the soil. Since it was Memorial Day weekend, we figured it’s late enough in the year to get the soil and take advantage of any sales. (For those not on the East Coast, Aubuchon is partnered with Ace Hardware.) I took a long time deciding what exactly I wanted to get and what I could get for the best price. Since I managed a Garden Center at a local Lowe’s for a time, I knew I had multiple options, but it took a bit to decide what amounts of each type of soil I’d need. (I’m TERRIBLE at math.)
So after too much time thinking way too hard (while my husband and toddler were amazed by wind chimes), I went with:
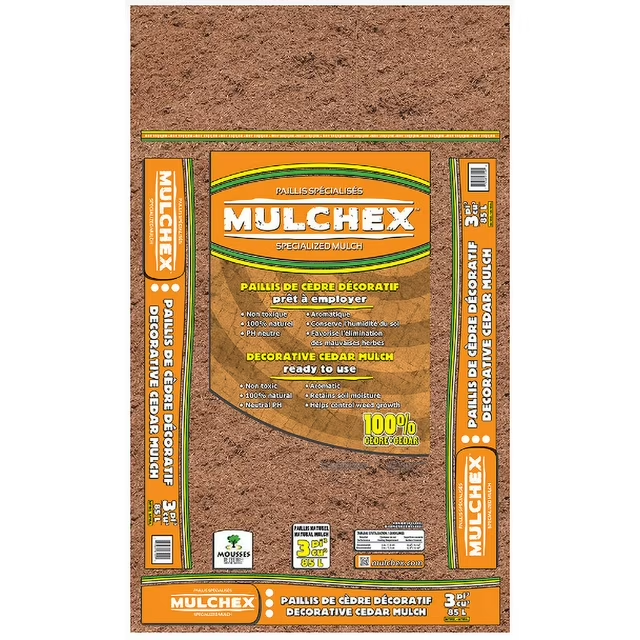
- 3 bags of Cedar Mulch
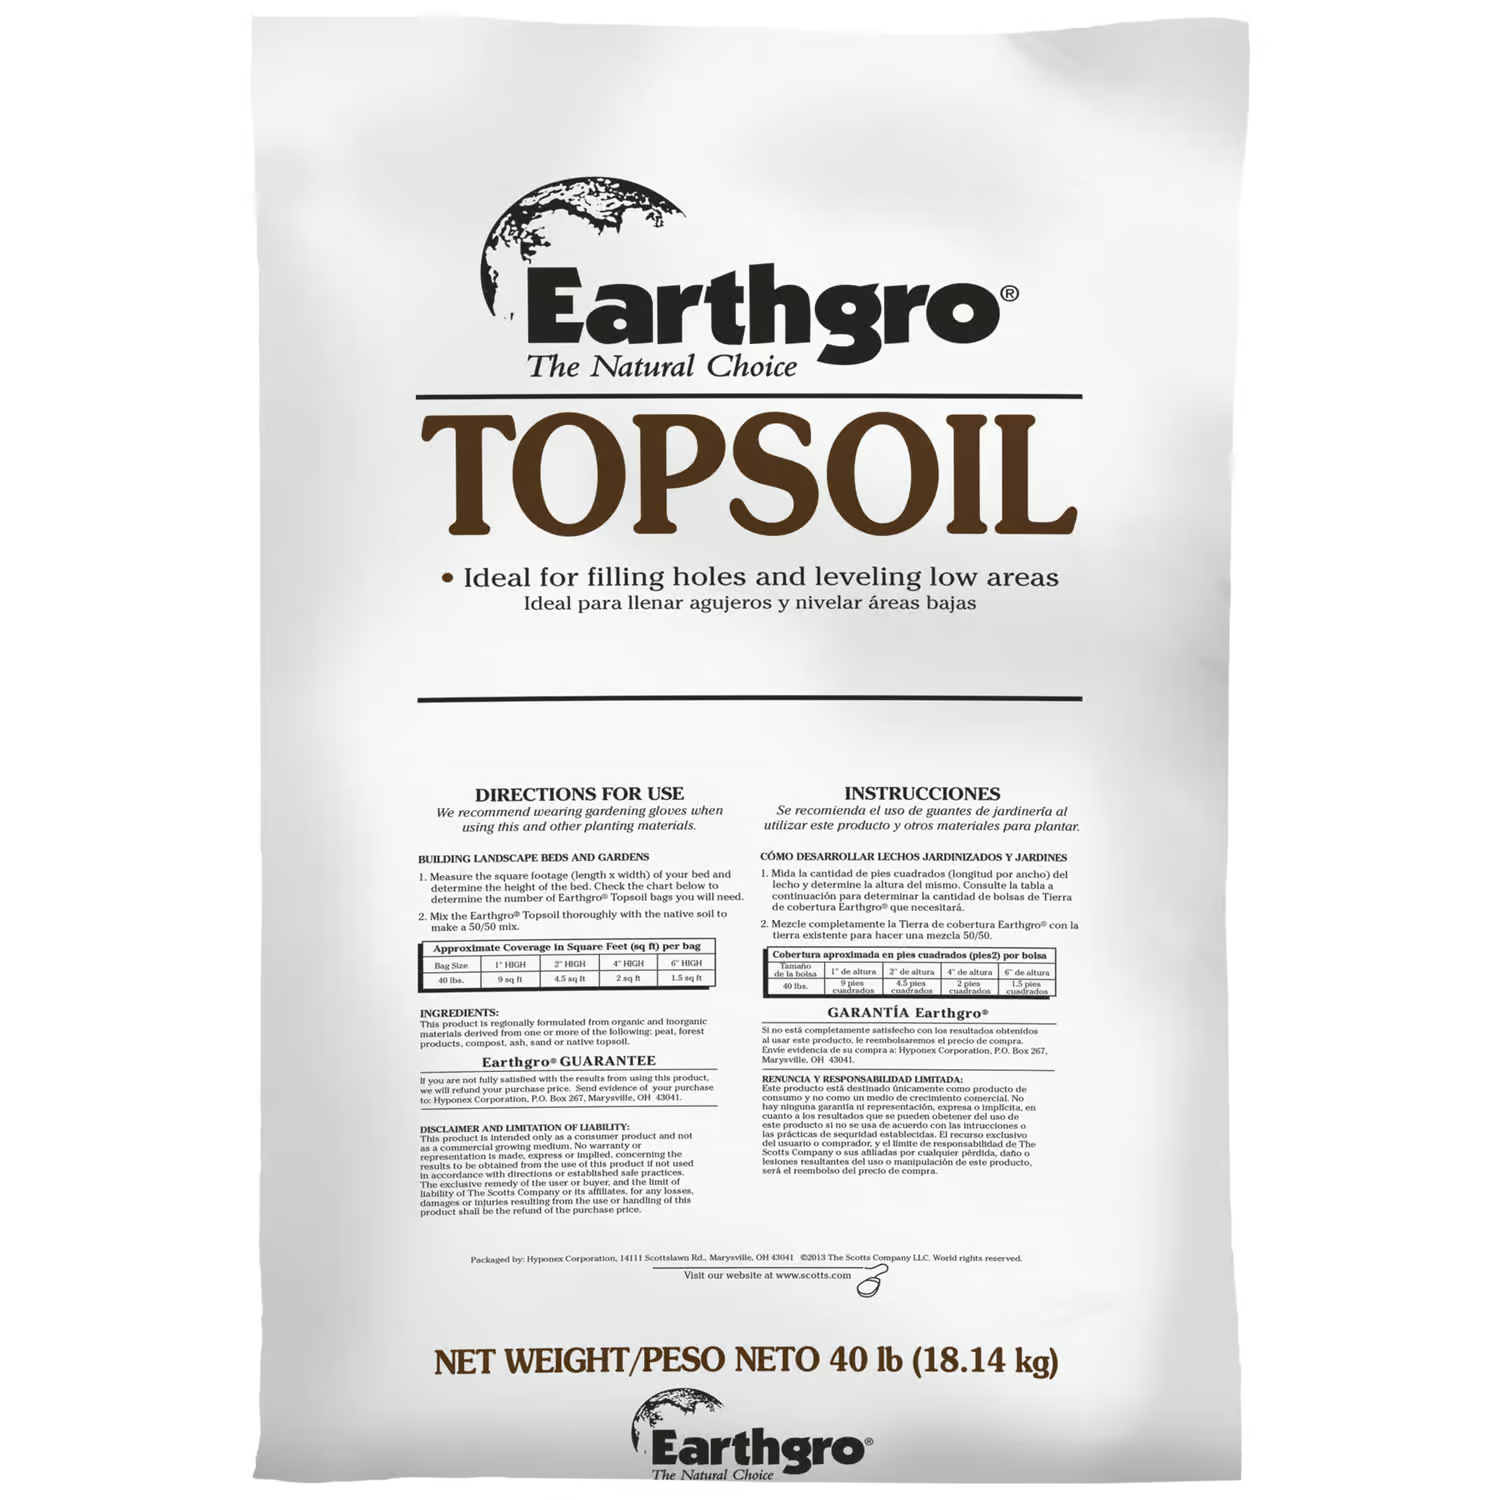
- 6 bags of Topsoil
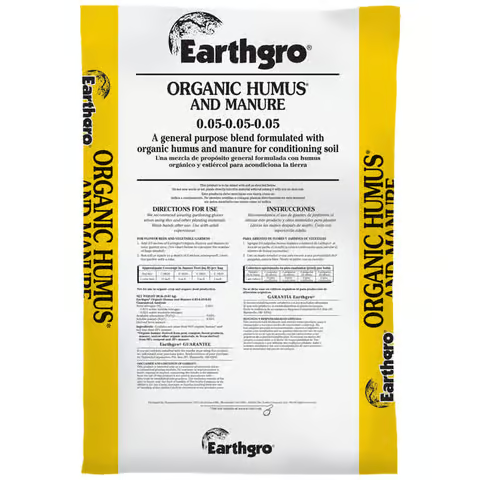
- 3 bags of Organic Humus and Manure Mix
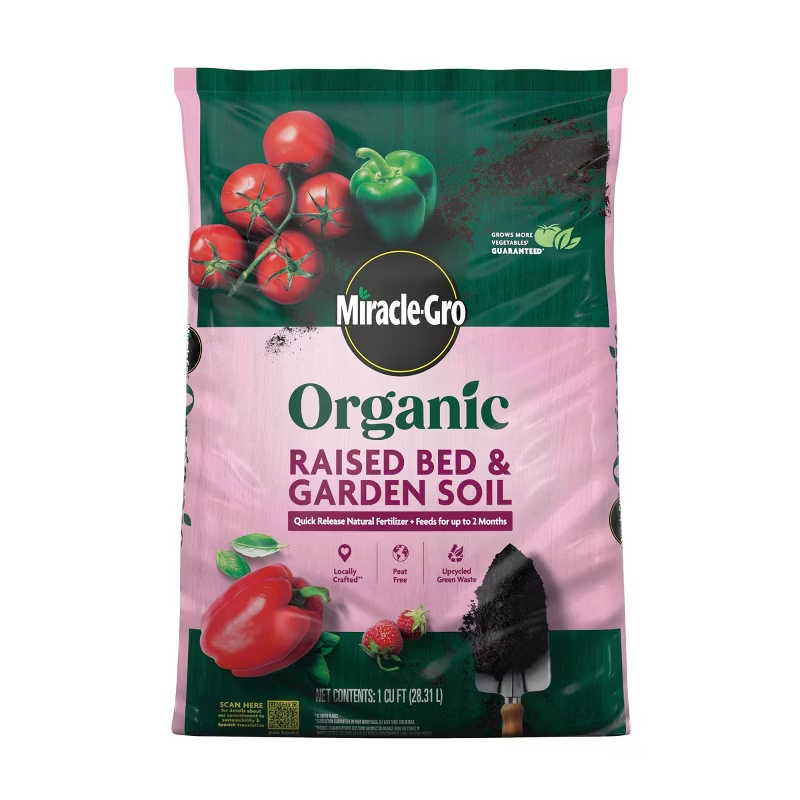
- 3 bags of Organic Raised Bed Soil
These are the exact items I used. (The links are as close I could find online.)
https://www.hardwarestore.com/195541-miracle-gro-raised-bed-soil-15-cu-ft
https://www.hardwarestore.com/665342-scotts-lawn-care-eath-gro-top-soil-40lb
https://www.hardwarestore.com/195543-earthgro-manure-humus-1-cu-ft
Since I already had my base layer of clippings and cardboard, I started with the mulch. I was going to go through the woods and get more branches and organic matter, but I like the fact that cedar is a natural bug repellent. I did read it can change the pH of the soil, so I made a layer of cedar in each bed and tamped it down until it felt firm, but not compact. Then I layered on a bag of topsoil and a bag of the humus/manure mix and mixed those layers together by hand. I tried my best not to incorporate the mulch into it (which is why I did this by hand—with gloves on!). Then at the end, I topped it with a bag of the raised bed soil!
I’m going to start my seeds inside this week. I cut boxes from granola bars in half and that’s where I will plant my seeds! This way I can keep an eye on the little babies while they sprout. Once I transfer them to the garden, I’m going to put toilet paper rolls around them! This way I can keep them safer from certain bugs and slugs. Plus, it will help protect them from any birds or other critters for a while.
Am I overly ambitious? Probably. Excited? Absolutely!
I’l be back with updates once things start growing! I can’t wait to share this with my daughter and have her learn about plants and growing our own food!